|
Import Files to SWORD |

|

|

|
|
Import Files to SWORD |
|
|
|
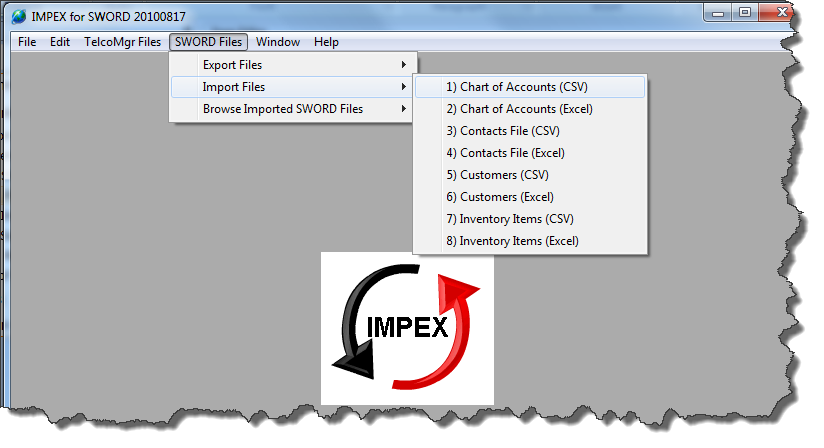
| • | Chart of Accounts |
| • | Contacts File |
| • | Customers |
| • | Inventory Items |
The above files may be IMPORTED from a CSV or EXCEL file type.
User Tip: Export the SWORD files using the Export SWORD Files option to create a template file to be re-imported with your data.
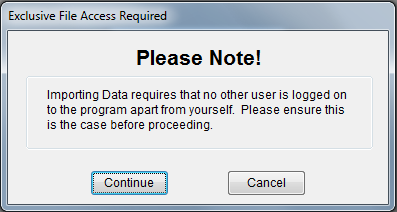
Caution: Importing Files Requires EXCLUSIVE USE!
Step 1: Source File Options
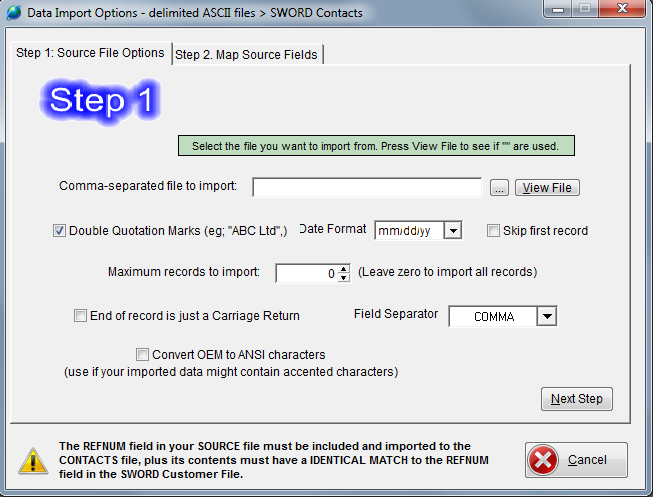
| 1. | Navigate to a comma-separated file to import. |
| 2. | Optionally, you can view the file for verification purposes. |
| 3. | If COMMAS are used inside FIELDS then your data should have been prepared for DOUBLE QUOTATION MARKS. |
| 4. | Select how you wish to format fields with dates. |
| □ | Skip first record > Check this box if you wish to import only your data and not your header labels. |
5. Maximum records to import may be set to a small number for testing your import. A ZERO will import ALL records.
| □ | End of record is a Carriage Return > some databases require additional symbols to force a new line. You may need to experiment with this check box to verify that only a Carriage Return is needed. |
6. Field Separator > Alternately, the file may be delimited with a TAB, SEMICOLON or PIPE symbol. You may need to experiment with another delimiter if a COMMA is not giving you the most desirable results.
| □ | Convert OEM to ANSI characters. (Use if your imported data might contain accented characters) |
Click on the [Next Step button] to open the Step 2. Map Source Fields TAB.

| 1. | Press the [FIRST button] to read in the 1st Record. |
| 2. | Click on a field in the left list (your SOURCE file) and "drag" it across to the matching field in the right hand list (SWORD fields). |
| 3. | Use the mouse "Double-click" in the right hand list (SWORD fields) to "unlink" the match. |
| 4. | Use the mouse "Right-Click" to enter a static value for the SWORD field. For example, the COMPANYID field must always contain the number 1. |
| 5. | The matching of fields may be saved as a "Map Structure." Once you have matched your fields to the SWORD fields then click on the [Save button]. |
| 6. | The Column labeled No. in the Source file (Left-side panel) and Existing File Field (Right-side panel) indicates which column in the Source file shall be placed into the Existing field. |
| 7. | Use the [Retrieve button] to use a previously saved Map Structure. |
| 8. | Click on the [Start button] to begin the IMPORT. |
Page url: http://impex.sword-field-service-software.com?import_files_to_sword.htm

